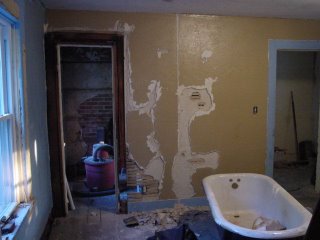
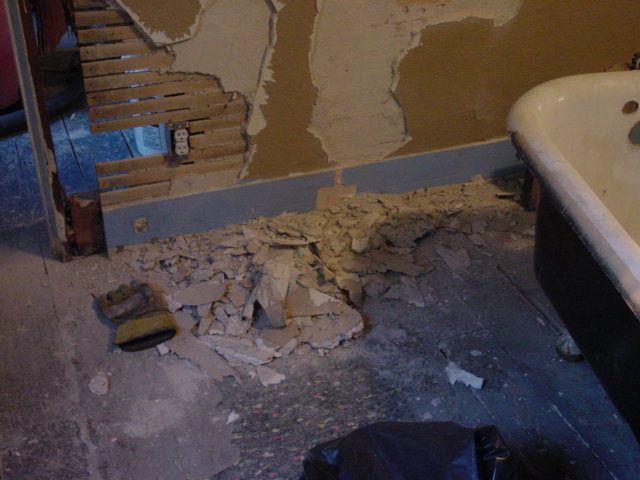
All too often I see people rip out plaster walls because they are cracked or have a bulge and replace them with drywall. Depending on the extent of the damage, it is often easier and cheaper to repair the wall and ceiling. Unfortunately, most folks don't know how to do this and speculate that it is hard work. I am going to be doing alot of plaster repair in the next few weeks and have decided to let you all in on the secrets of how to do this. There will be plaster on brick, plaster on lath and plaster on metal lath happening here as well as some drywalling next to plaster repair. Let me just add that doing all the plaster repair is considered the easy method of wall repair in my case because I plan to smooth out the textured walls as I have done in every other room so far. I need to get some hydrated lime, some sand and some plaster this week so that I can get started but let me show you what is prompting this crash course. I had a bulging wall that I thought would have to be removed and drywalled over. Before knocking all the plaster off, I decided to only remove the loose plaster. What I ended up with is this
This took me 30 minutes and only created this much mess! I threw in the glove for scale.

The scratch coat is still keyed to the lath in most areas so this patch work will be very easy providing I wet all the underlying plaster down really good.When I am ready to start the repair work later this week it will only take another 30 minutes or so. Now, putting drywall over that door frame and smoothing all the walls and the ceiling with joint compound will take much longer! One of these days I'm going to haul that clawfoot tub up to the third floor, too!
Stay tuned, you will never have to gut your walls again!

Không có nhận xét nào:
Đăng nhận xét